DIY: Create Your Own Perfect Statement Painting
What You’ll Need
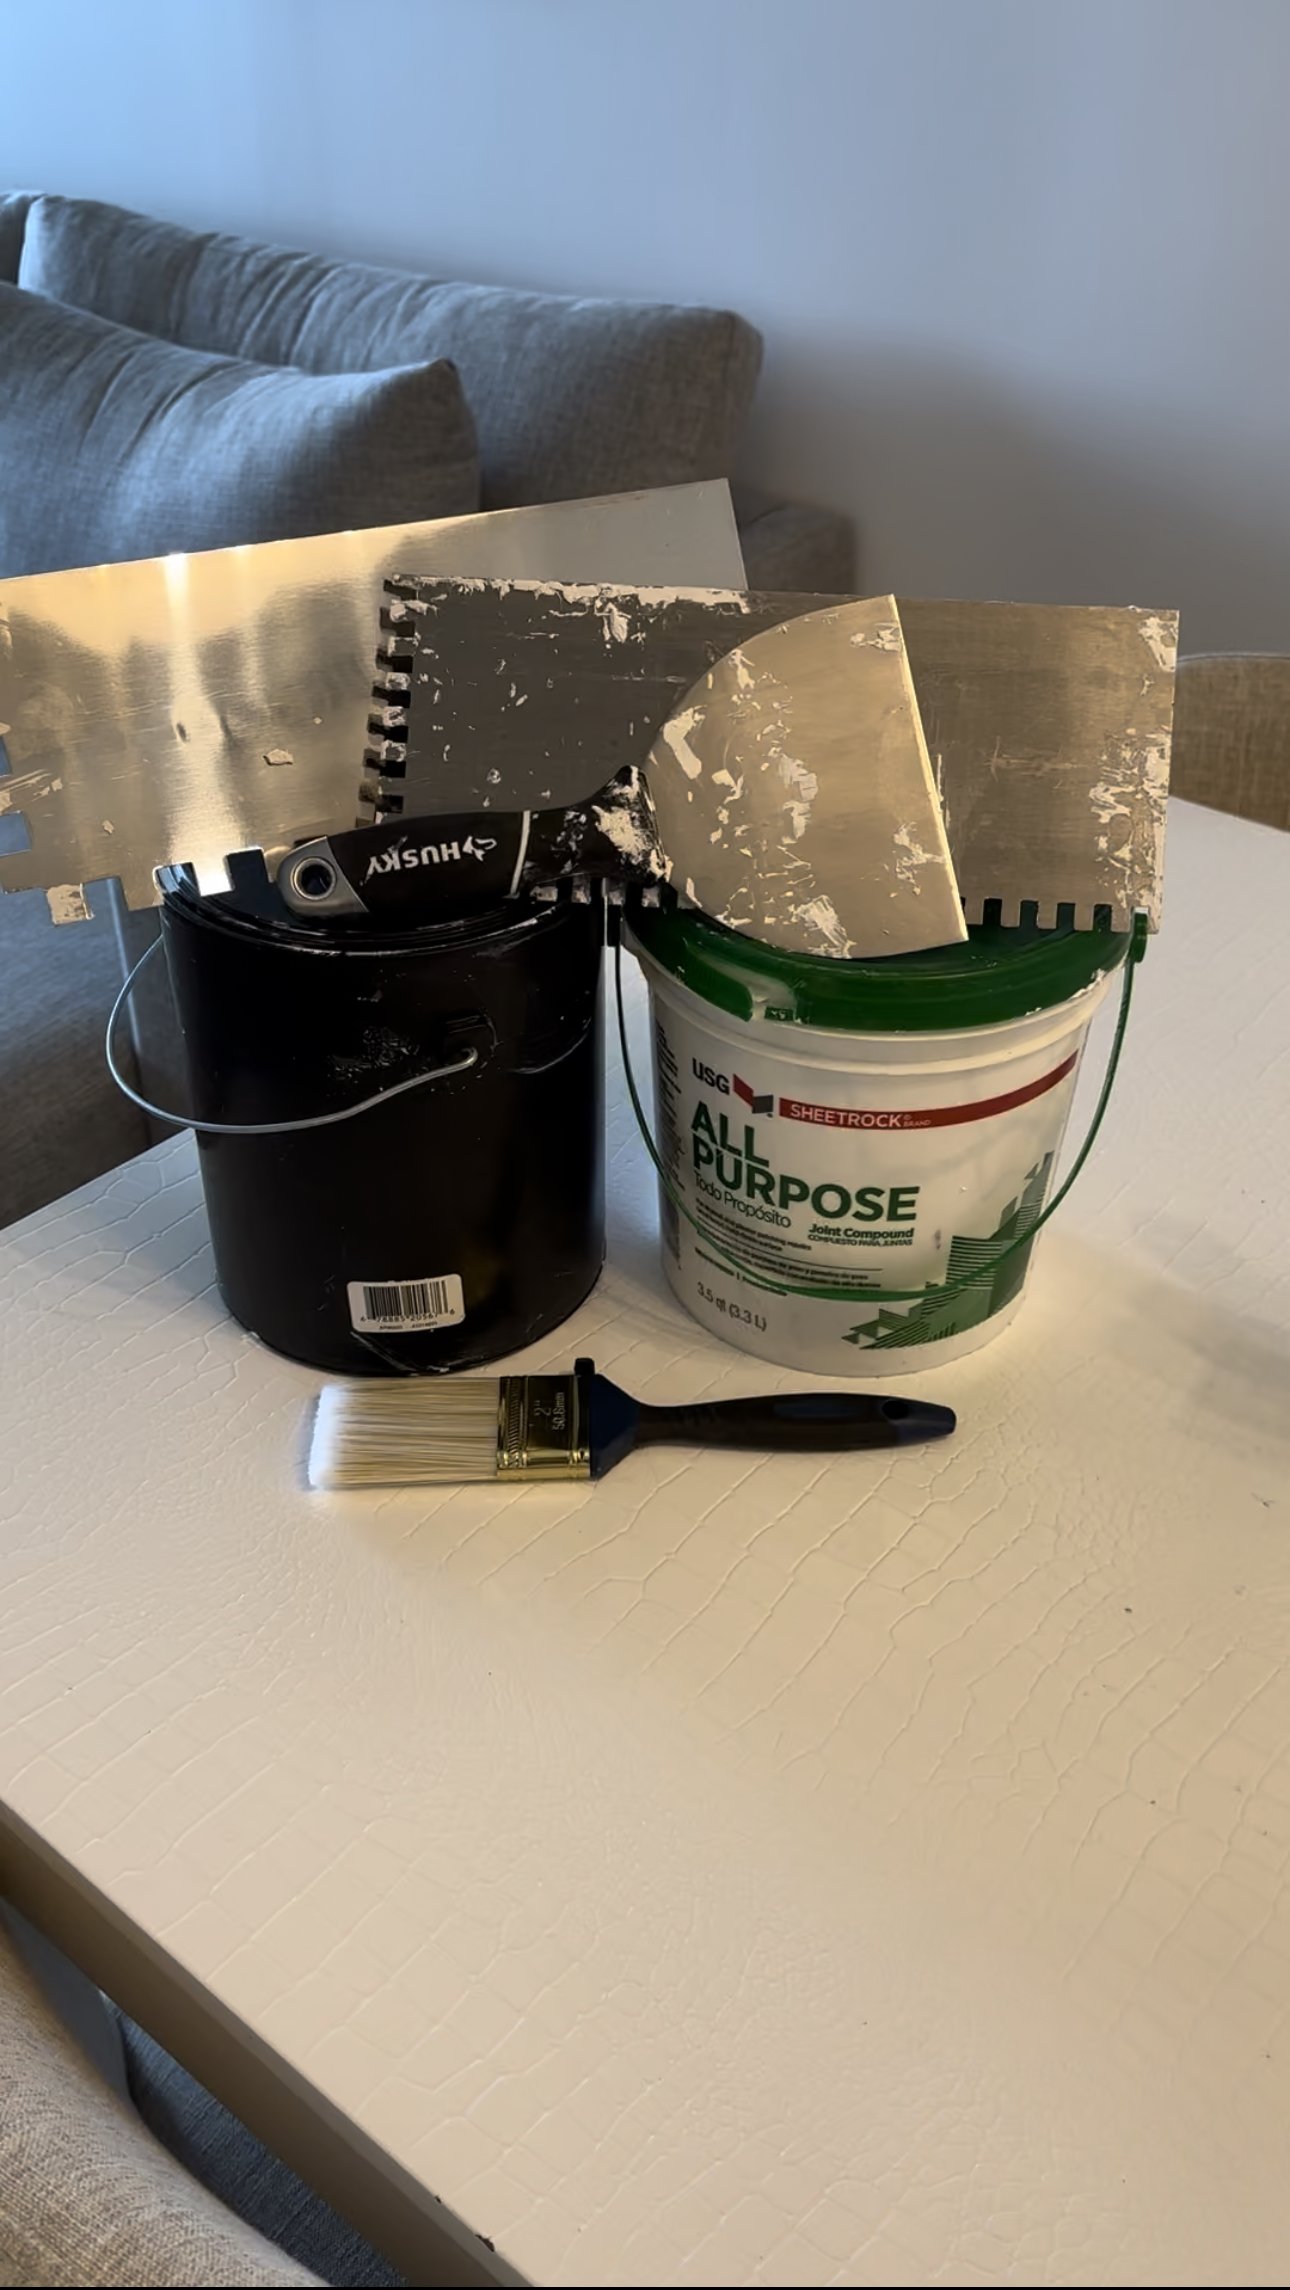
A stretched canvas (I got mine at my local Blick Art Supplies)
Paint (I used white as my base coat but you can use any neutral color)
Paintbrush
Joint Compound
Notched Trowels and Putty Knife
Clear Sealant (you can go either matte or glossy)
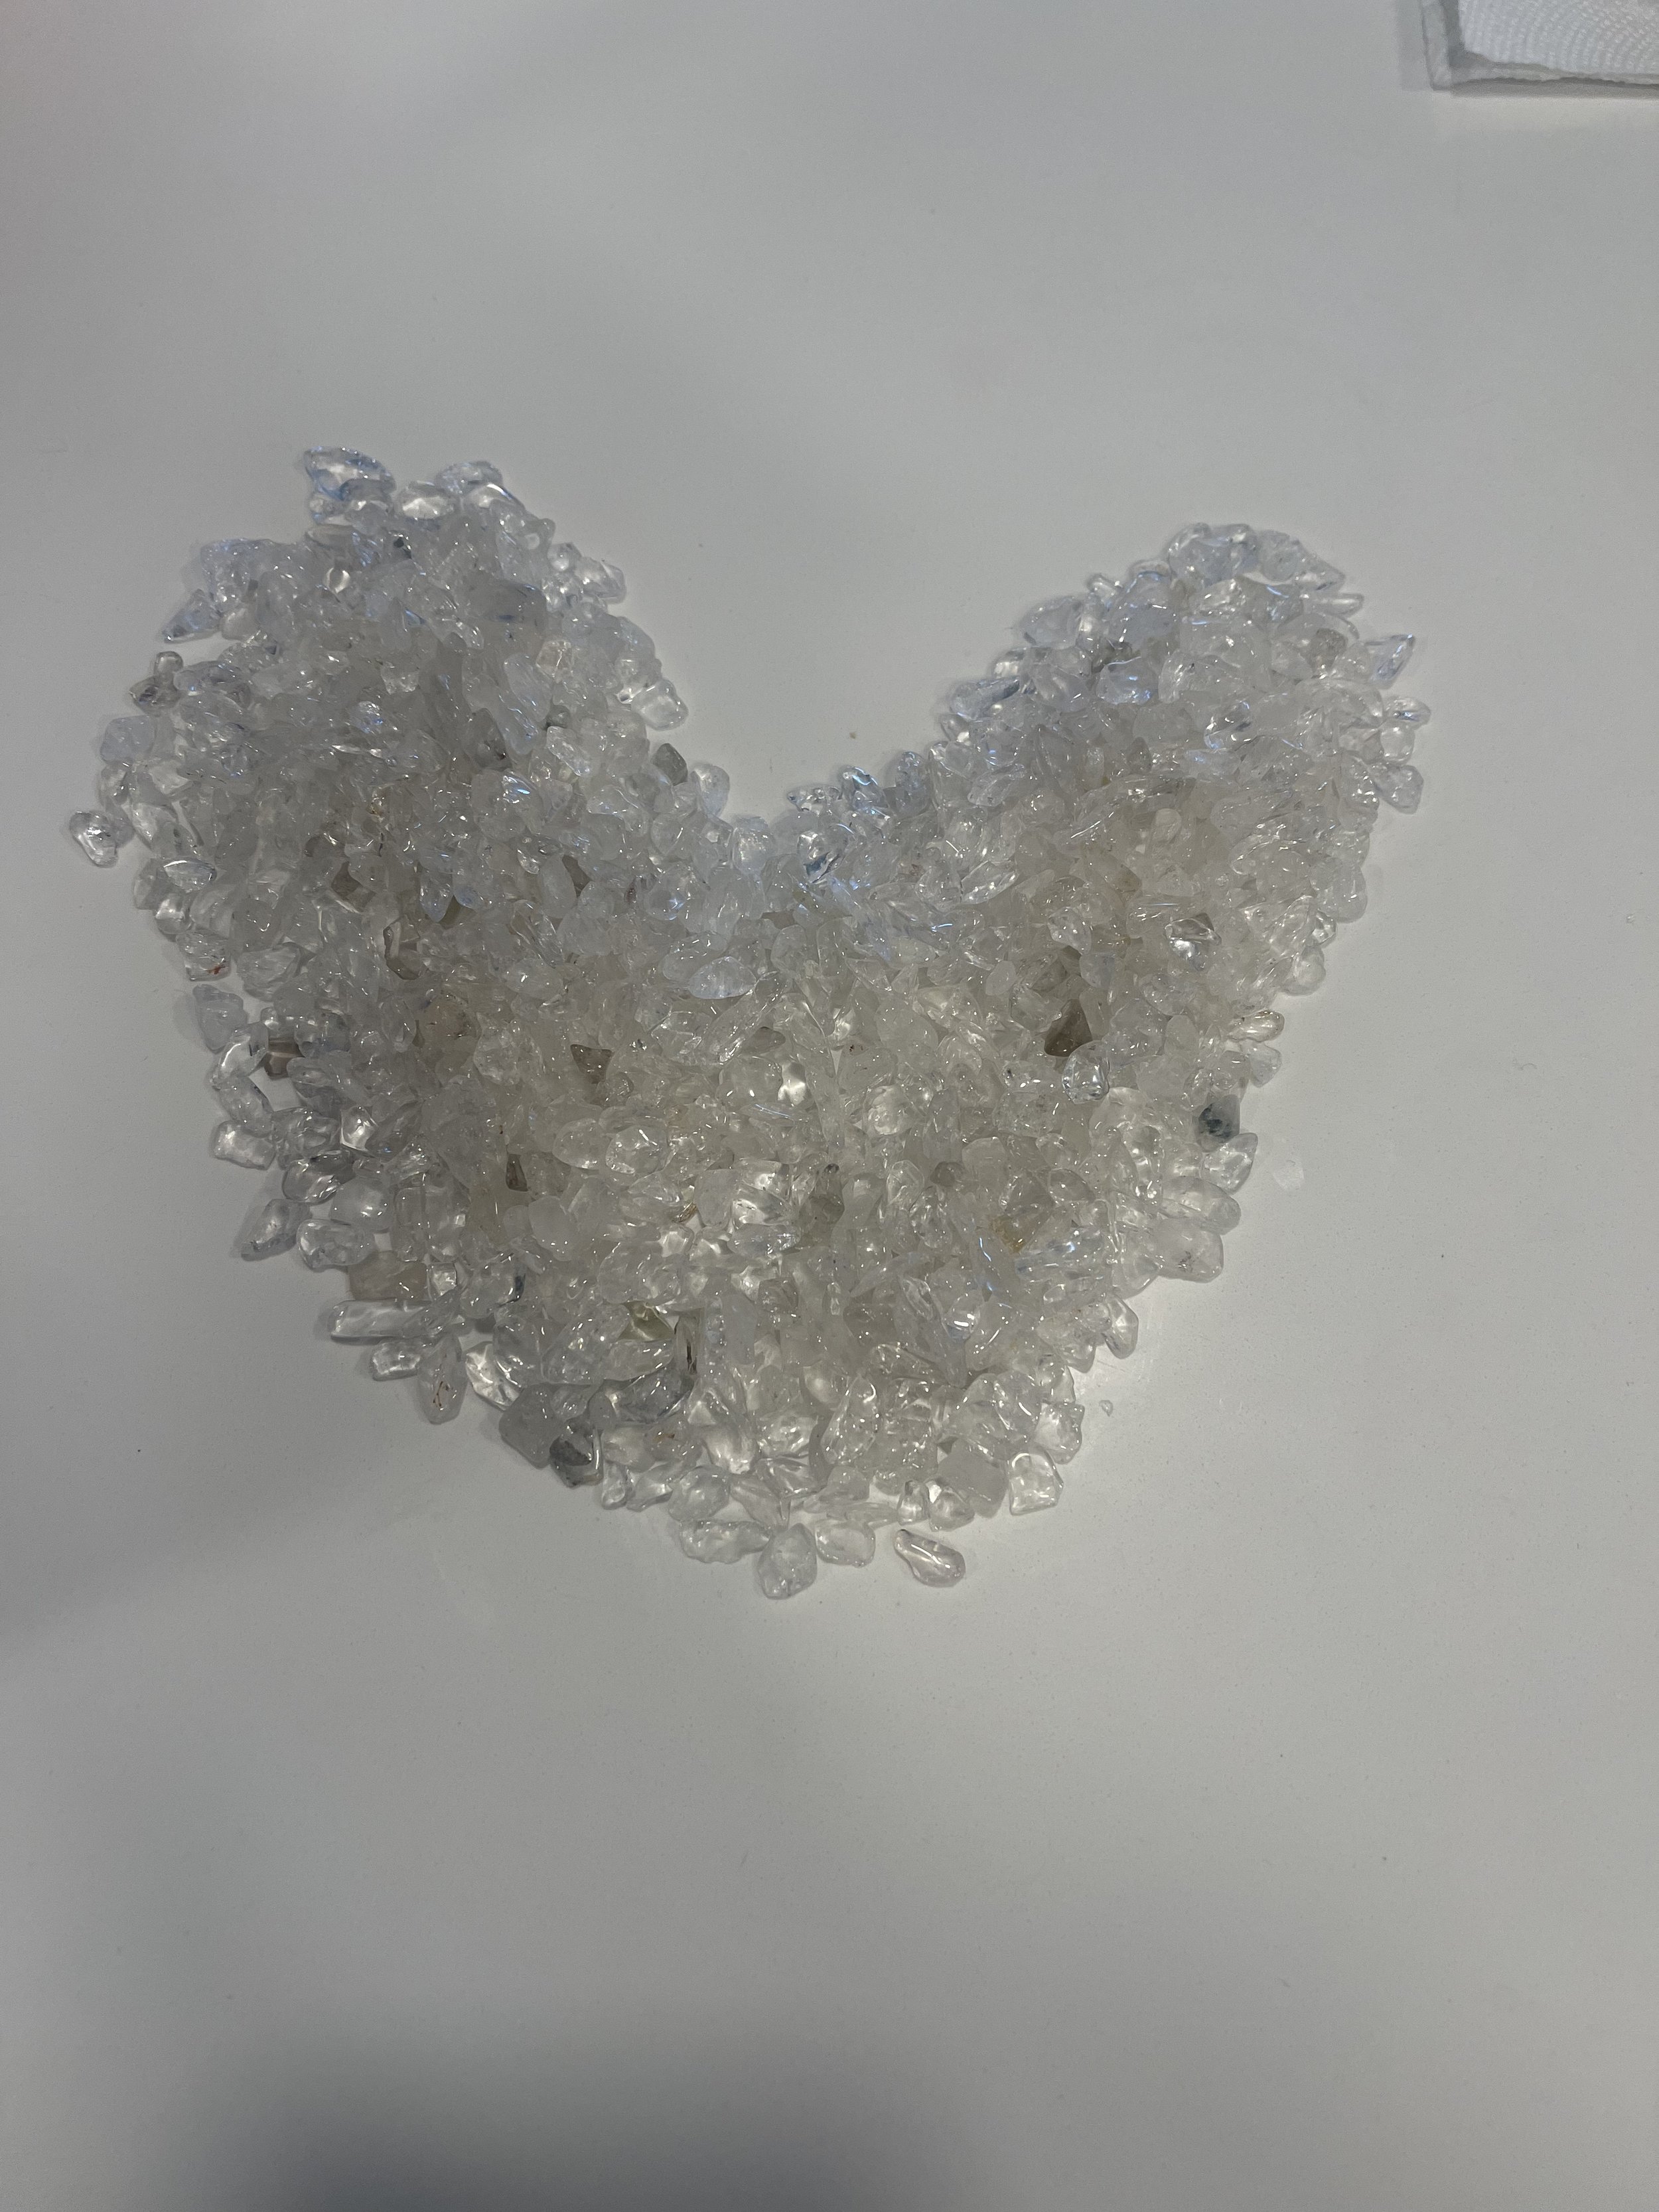
Crushed Crystals or Minerals (I bought crushed rose quartz on amazon)
Step 1: Set Up Your Space
This is going to get a bit messy so make sure to tape up the sides of the canvas and lay some newspapers around the perimeter to prevent or catch drippings. The finished product will take a while to dry so make sure you set up your canvas and materials somewhere they can lie undisturbed for 24 hours.
Step 2: Prep Your Canvas
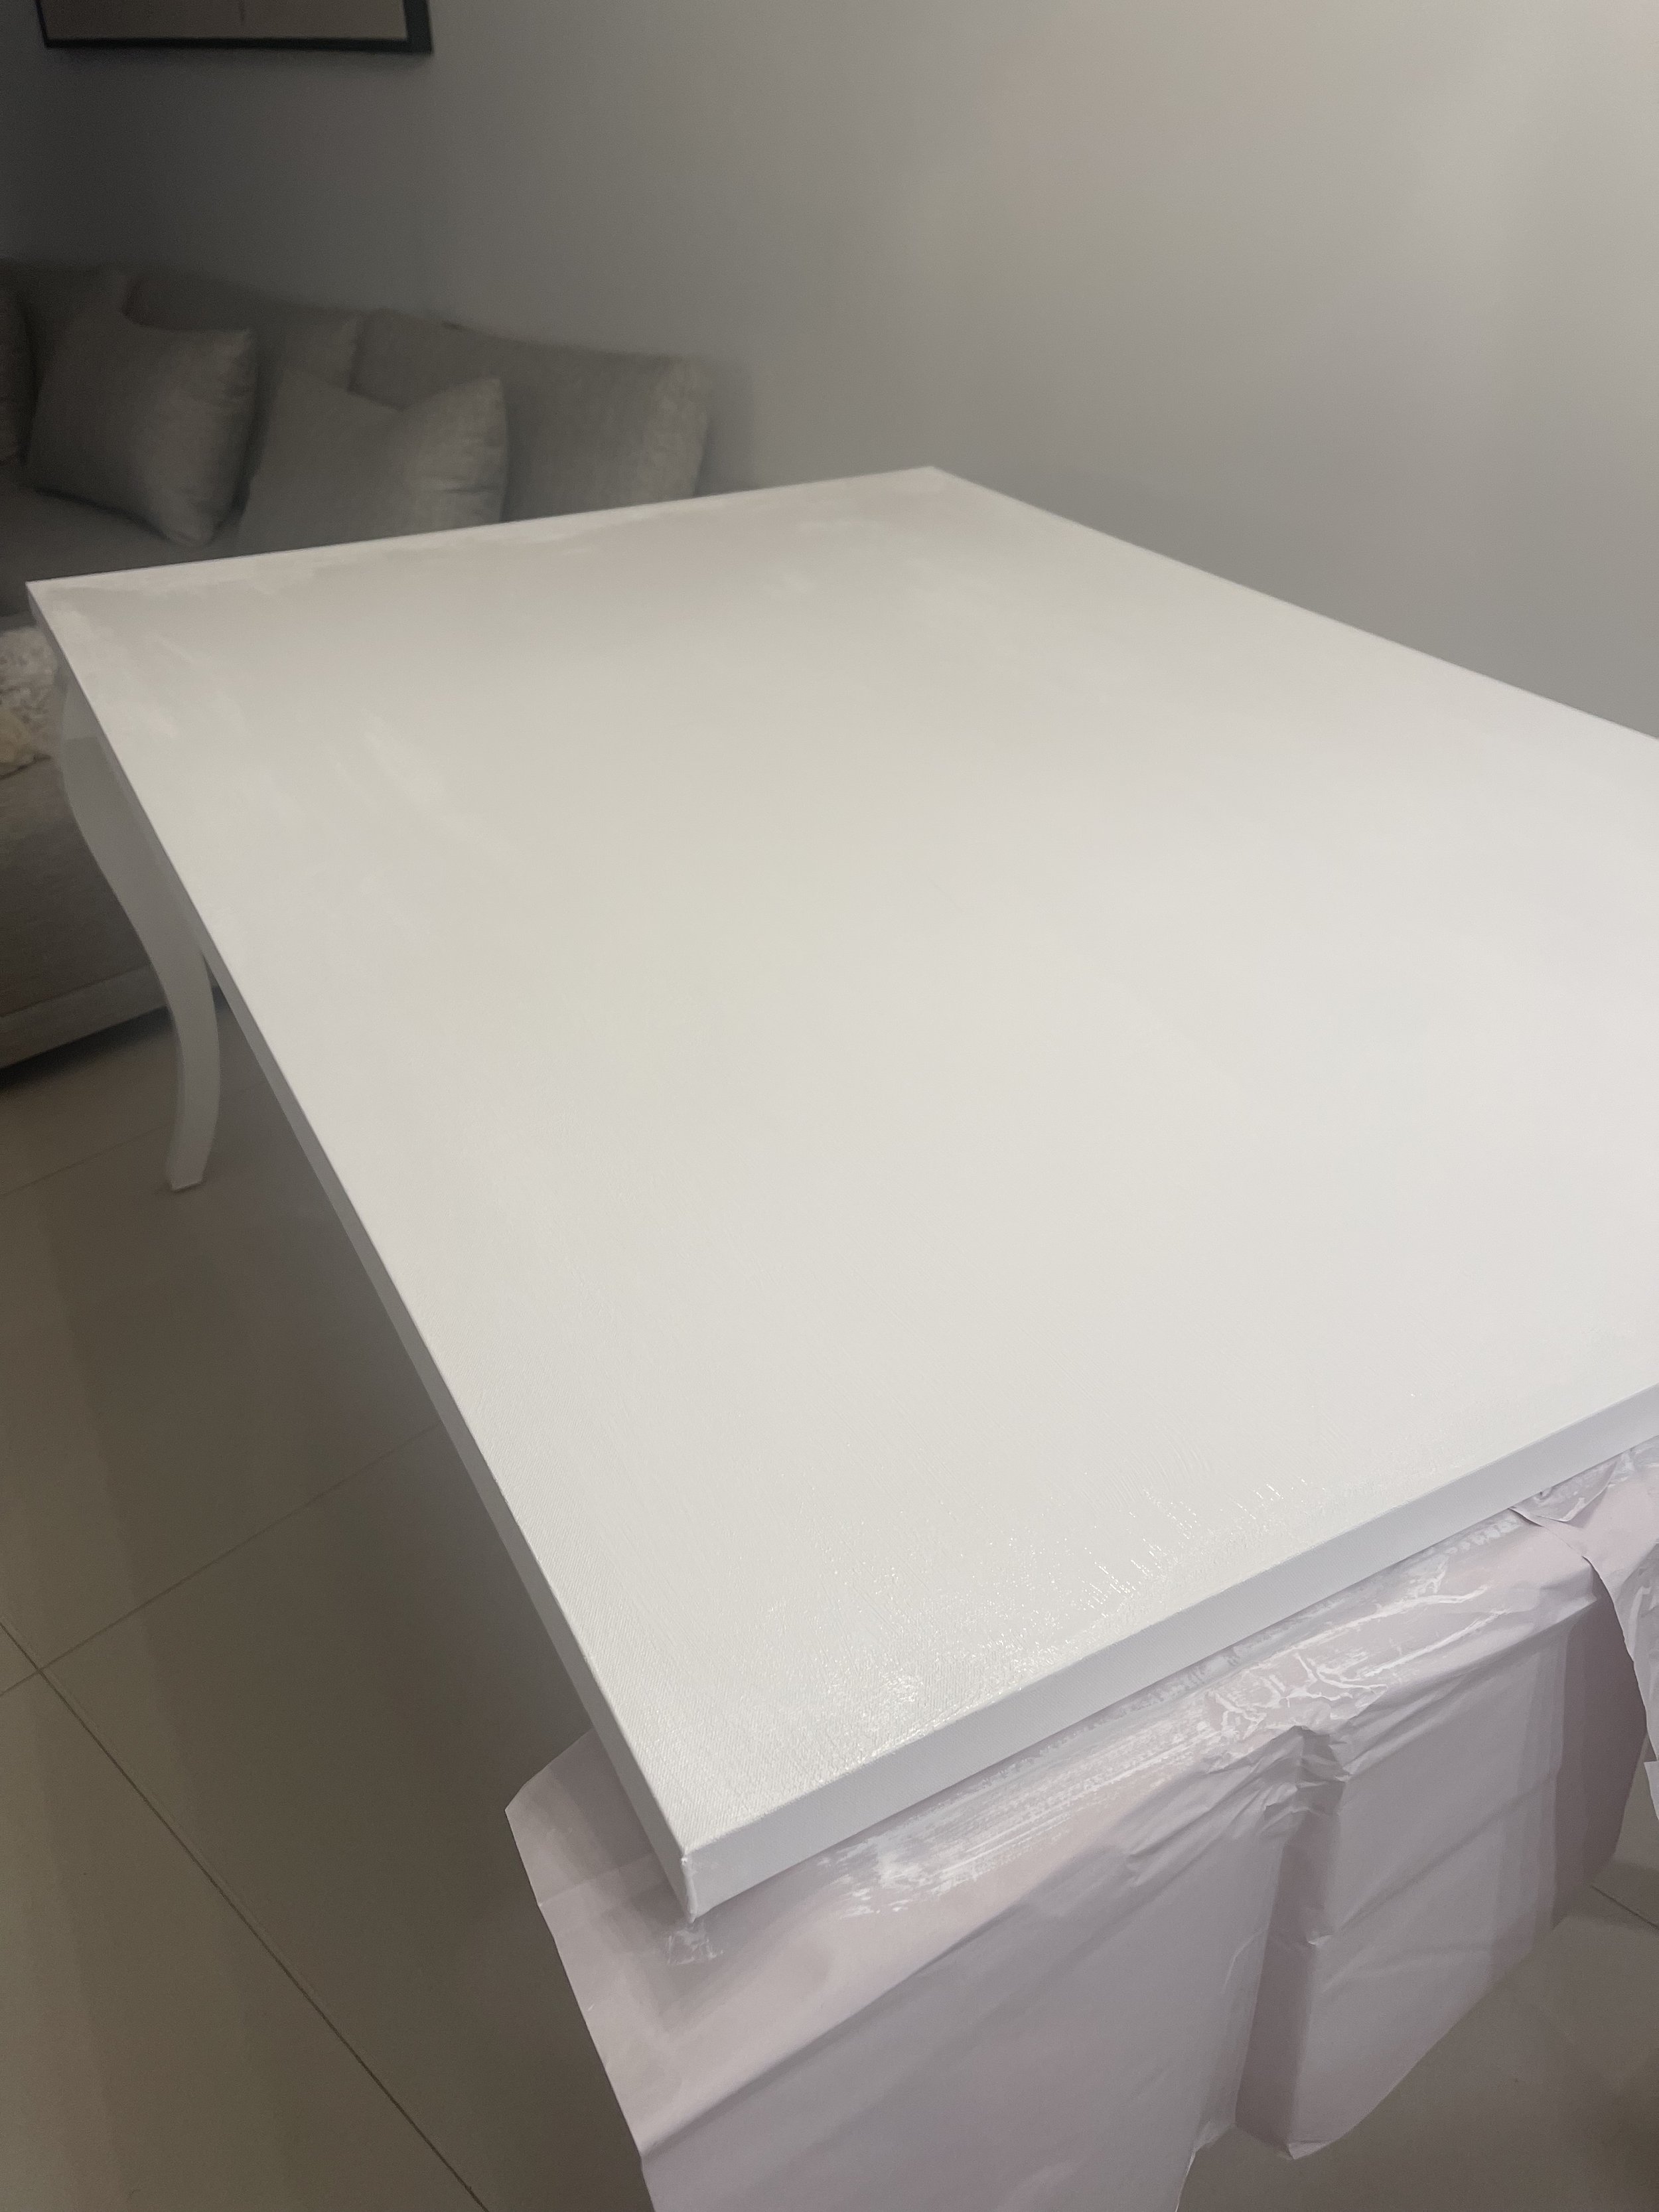
Cover your canvas with a solid coat of base paint. I bought a new canvas that was easy to cover but you can also repurpose a canvas that you don’t dig anymore. Just make sure to the coat is heavy enough to provide a solid color. I used basic acrylic white house paint.
Step 3: Apply the Joint Compound
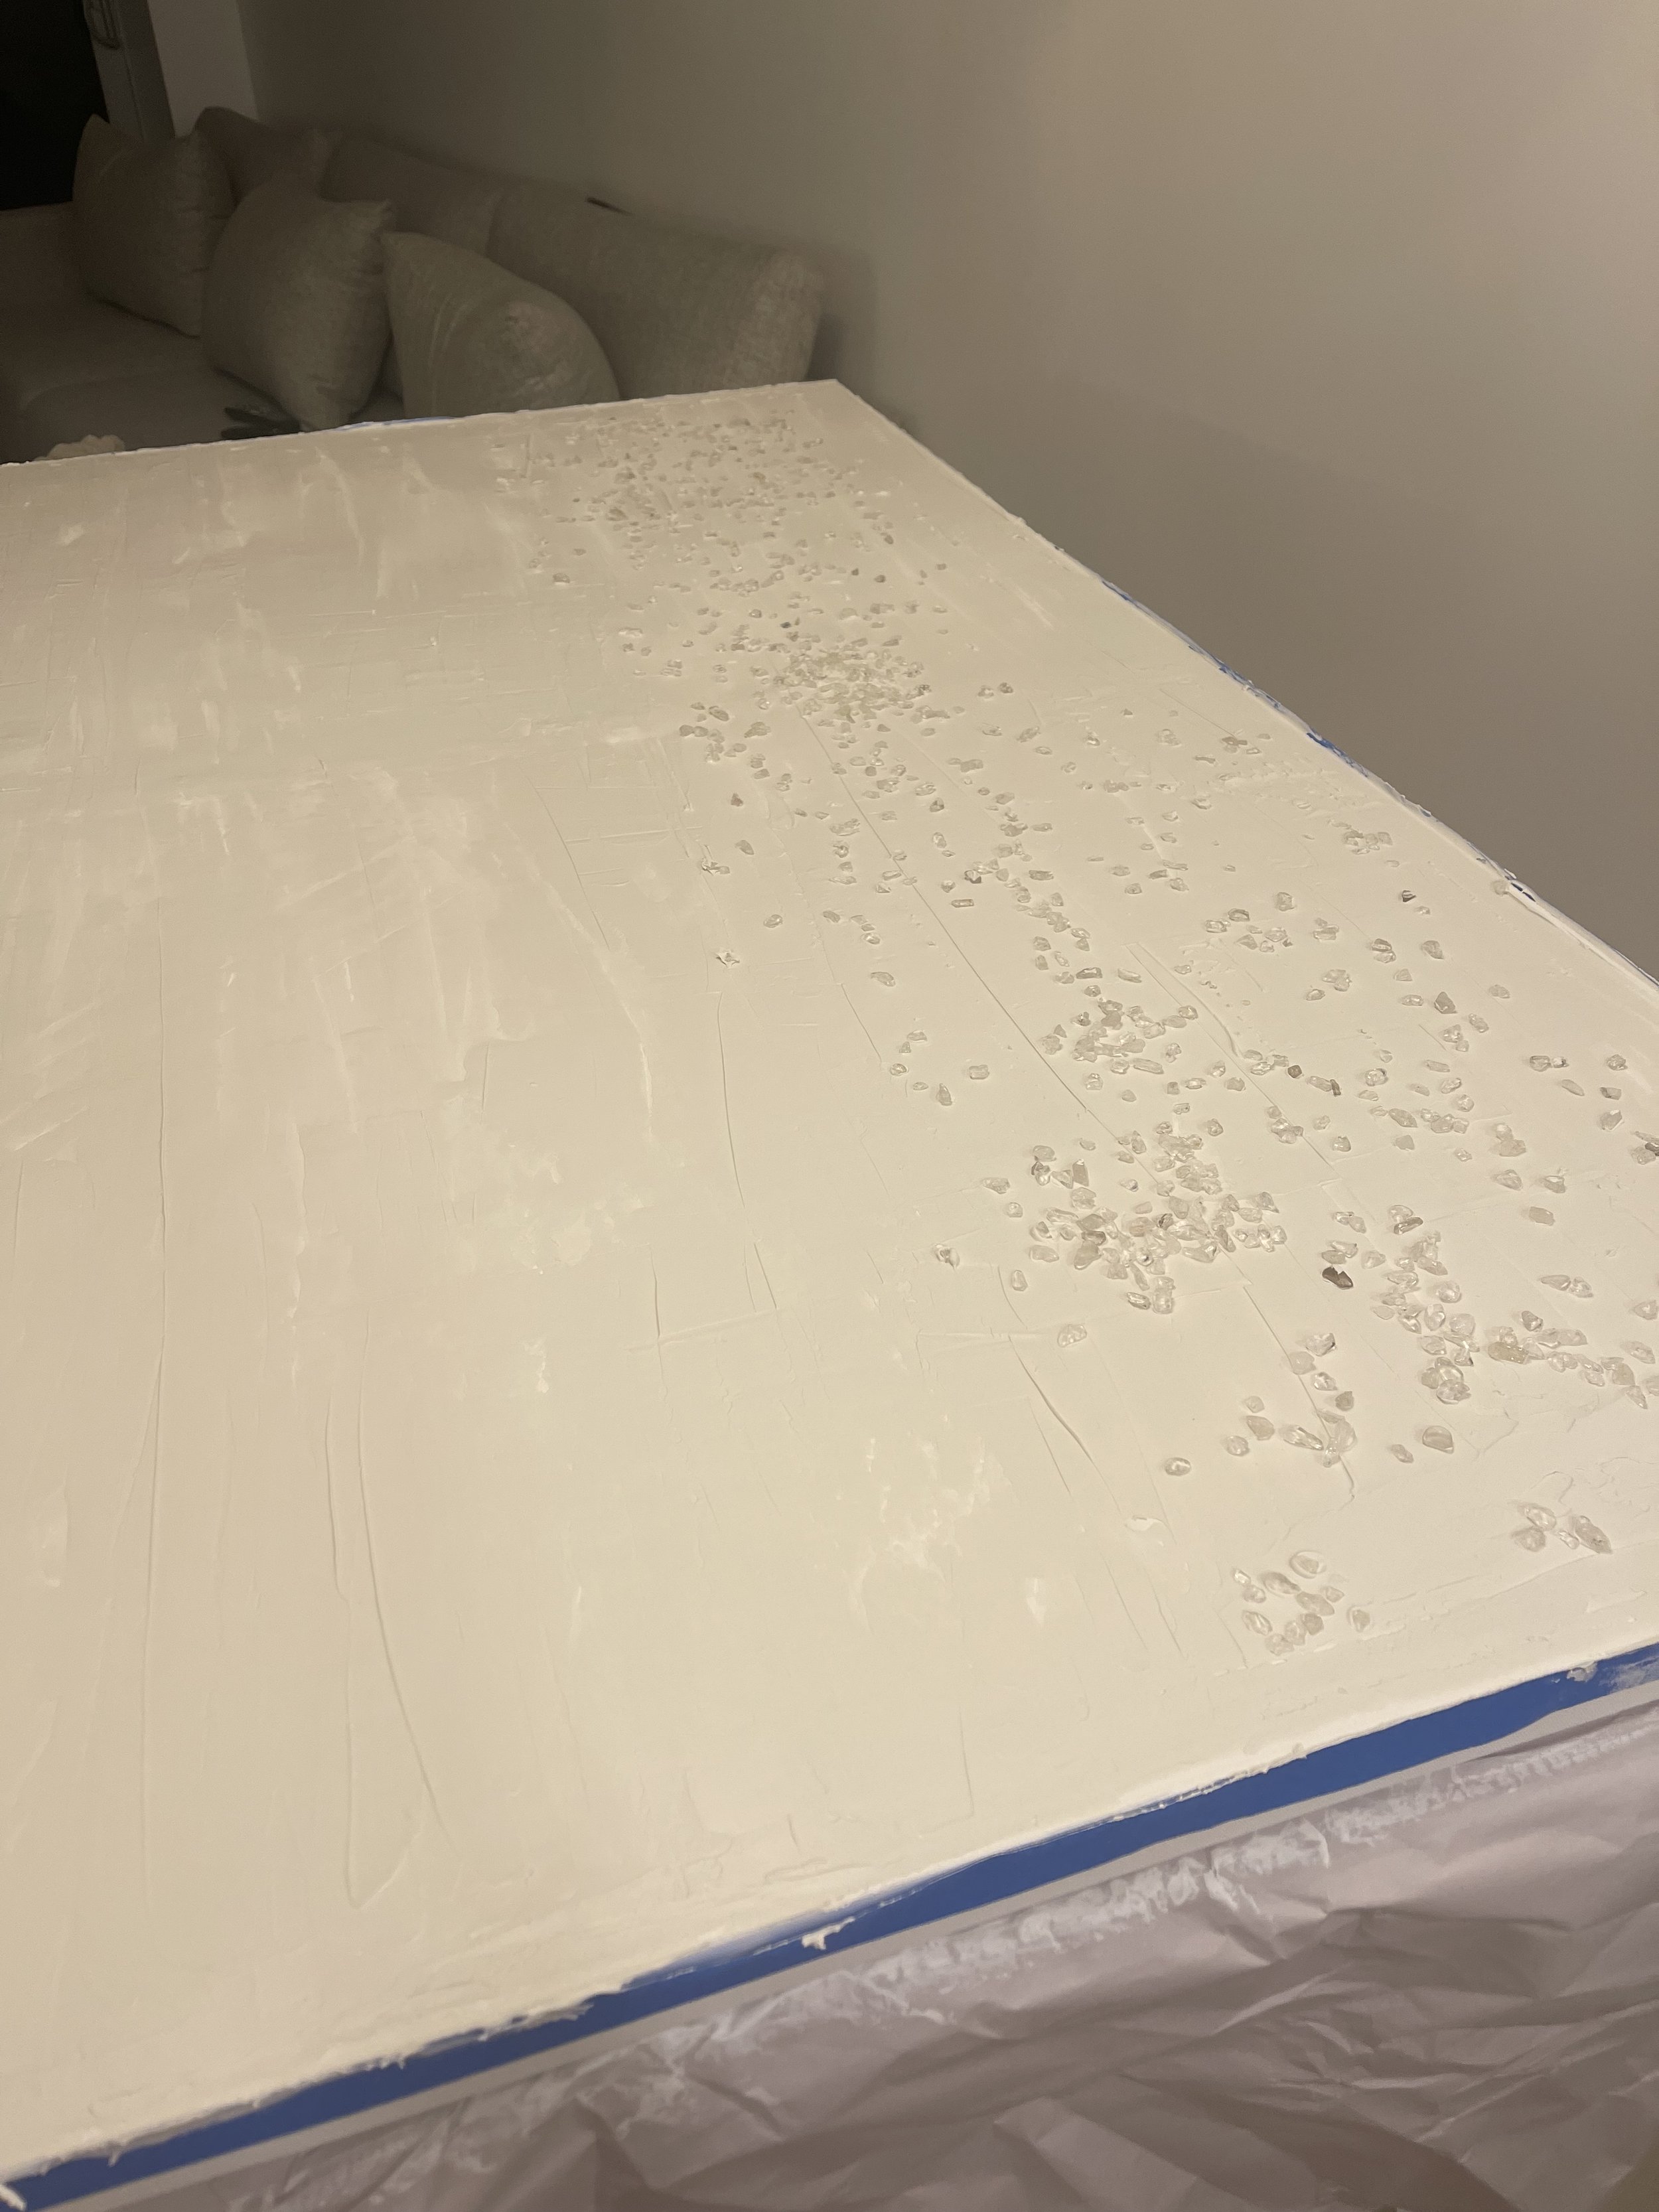
Once your base coat is dry start applying the joint compound and spreading it out evenly over the canvas with your putty knife. You’ll want to make sure you have enough but don’t go too heavy as the canvas will sag with too much weight.
Step 4: PLAY
Bring out those notched trowels and have at it. You can experiment with different-sized notches, shapes, and lengths. I did this for at least 45 minutes. If you don’t like the direction then use your putty knife to smooth out the compound and begin again. Keep going until you like what you see. You can do as much or as little texture as you want.
Step 5: Bring the Bling
I wanted to add some zen to my space so I decided to add some crushed rose quartz which is known for its calming and grounding effects. I pushed the crushed crystal into the joint compound with the putty knife. You can shape the crystal into any design that you like. I wasn’t feeling my first design so I used the knife to move it around into a central line for a more geometric feel.
Step 6: Dry and Seal
Depending on the size and amount of joint compound your canvas can take up to a day to dry. Good thing you placed it somewhere it won’t be disturbed! If you like the way it looks a sealant may not be necessary. However, I wanted to give my crystals extra incentive to stay in place so I used a clear sealant.
Step 7: Hang and Admire
Viola. You’re an artiste. Let everyone know you’re now accepting commissions. Or just revel in your hidden talents.


